The Complete Rental Management Platform
Everything you need to run, scale, and automate your rental business. From bike shops to construction equipment dealers - streamline your entire operation with 24/7 automation.
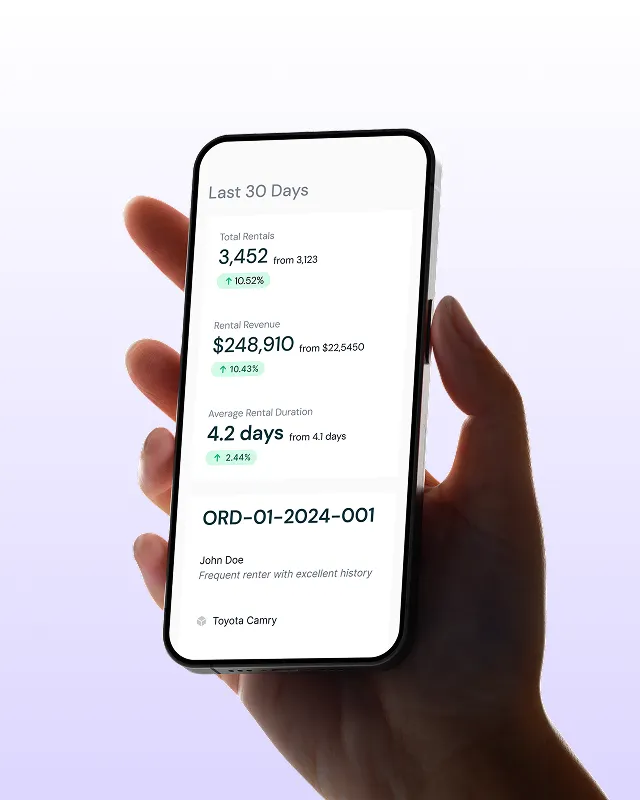
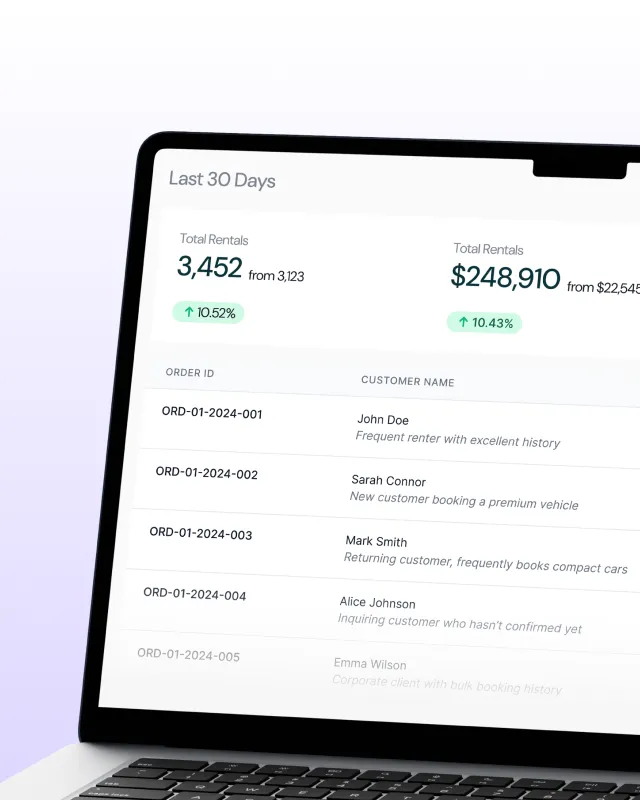
Real-Time Rental Metrics
Your business performance right now
Manage Rentals in Real Time
Track all bookings effortlessly with our powerful dashboard.
Rentablez AI for
Strategy & Intelligence
Predict demand, optimize pricing, and automate inventory decisions with AI-powered insights
Transform your rental business with smart automation
Manual rental management costs you time, money, and customers. Rentablez eliminates double-bookings, automates invoicing, and gives you real-time visibility into your entire business.
Eliminate Double-Bookings Forever
Eliminate costly overbooking errors that damage customer relationships and hurt your reputation. Real-time availability prevents scheduling conflicts.
Automate 80% of Admin Work
Automated invoicing, payment reminders, and contract generation free up your team to focus on customer service and business growth.
Scale Without Hiring More Staff
Real-time analytics and automated workflows let you handle 3x more bookings with the same team size. Grow revenue, not overhead.
See your potential ROI
Rentablez customers typically see these results within the first 3 months
Everything Your Rental Business Needs
From equipment tracking to online bookings, streamline every aspect of your rental operations with our integrated software suite designed for growing rental businesses.


Everything Your Rental Business Needs in One Powerful Platform
From equipment tracking to online bookings, streamline every aspect of your rental operations with our integrated software suite designed for growing rental businesses.

Proven Success Across Every Rental Industry
From small startups to enterprise operations, Rentablez adapts to your industry's unique needs with specialized features and automated workflows that drive real results.
Car Rental Services
Fleet management with GPS tracking, maintenance scheduling, and automated contracts
Vacation Home Rentals
Property management with guest communication, cleaning schedules, and channel sync
Event Equipment Rental
Event logistics with inventory tracking, delivery scheduling, and setup coordination
Construction Equipment
Heavy machinery with maintenance alerts, operator certification tracking, and site delivery
Medical Equipment
Healthcare devices with compliance tracking, sterilization records, and patient safety protocols
Tech & Electronics
Gadgets and devices with condition tracking, warranty management, and quick turnaround
Camera & Photography
Professional gear with kit management, lens tracking, and photographer profiles
Fitness Equipment
Workout gear with usage tracking, maintenance scheduling, and member management
Don't See Your Industry?
Rentablez adapts to any rental business. Our flexible platform and custom integrations work for unique industry requirements.
Everything You Need to Run Your Rental Empire
Unite all your rental operations. Get everything in one powerful platform that grows with your business.
Smart Inventory Control
Never lose track of your assets. Know what's available, rented, or needs maintenance - instantly.
24/7 Online Bookings
Let customers book anytime. Automated scheduling prevents conflicts and maximizes revenue.
Instant Payments
Get paid faster with integrated payment processing. Accept cards, digital wallets, and more.
Customer Intelligence
Build lasting relationships. Track preferences, history, and automate follow-ups.
Smart Invoicing
Professional invoices generated automatically. Send reminders and track payments effortlessly.
Live Business Insights
See your performance in real-time. Make data-driven decisions that boost profits.
Mobile Command Center
Manage everything on-the-go. Check inventory, process returns, and handle customers anywhere.
Asset Lifecycle Management
Track every item from purchase to disposal. Schedule maintenance and maximize equipment lifespan.
Multi-Location Mastery
Operate multiple locations like a pro. Centralized control with location-specific insights.
Join the thousands of rental businesses already saving 15+ hours weekly and increasing profits
Tools That Actually Transform Your Business
Save time with intelligent automation. Our real-time insights help you make more money with less effort.
Total Rentals
Revenue Growth
REAL-TIME ANALYTICS
Smart Business Intelligence
Get instant insights into revenue trends, utilization rates, and customer behavior. Make data-driven decisions that boost profitability and reduce operational costs.
200+ INTEGRATIONS
Connect Everything
Seamlessly integrate with your existing tools. Our API connects to accounting software, payment gateways, and business apps in minutes.
Asset Overview
Professional Camera
ID: CAM-001
Audio Equipment
ID: AUD-015
Lighting Kit
ID: LGT-008
Professional Asset Management
Enterprise-grade inventory control
Advanced asset lifecycle management with automated maintenance scheduling, depreciation tracking, and predictive analytics to optimize utilization and minimize downtime.
Financial Automation
Automated invoicing & payments
Smart Analytics
Predictive insights & alerts
Process Optimization
Automated workflows & triggers
Customer Communication
Automated notifications & reminders
Enterprise Automation Platform
Intelligent business process automation
Advanced AI-powered automation platform that intelligently handles complex business processes, reduces operational overhead by 80%, and scales seamlessly with enterprise growth requirements.
Real Results from Real Rental Businesses
See how rental businesses across industries are saving time, increasing revenue, and delighting customers with our platform.
Ready to Transform Your Rental Business?
Ready to automate your rental business? Start your free trial today - no credit card required, no setup fees, cancel anytime.
Start Your 30-Day Free Trial
Experience the full power of Rentablez with complete access to all features. No commitments, no hidden fees—just results.

No setup fees • No long-term contracts • 24/7 support included
Got Questions? We've Got Answers
Everything you need to know about Rentablez. Can't find what you're looking for? Our support team is standing by to help.
Let's Talk About Your Rental Business
Whether you're just starting out or scaling up, we're here to help you succeed. Reach out through any channel that works for you.

Chat with our experts
Get instant answers to your questions
Frequently Asked Questions
Still have questions? Start your free trial and experience Rentablez firsthand.


